In this 8 minute beginner-friendly pottery tutorial, Crockd’s resident artist will show YOU how to make your own “booty mug” in four simple steps!
Experience: Beginner
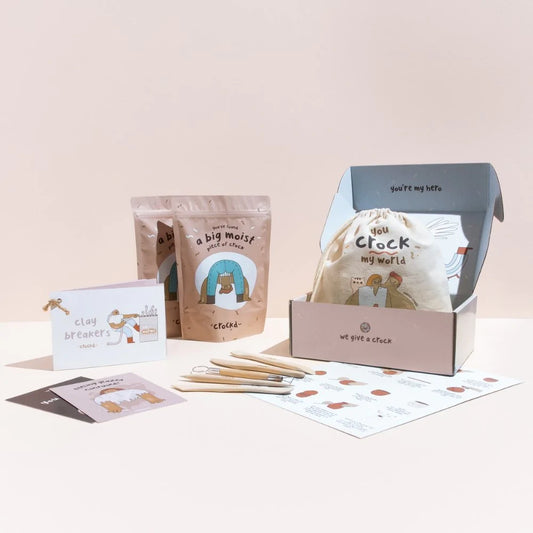
Crockd Kit: Pottery Kit
Extra Materials:
✓ A cutting board or Mess Mat to contain the booty mess
✓ Bowl or cup of water for your fingers
✓ Small paint brush to smoothing your piece
Transcript:
Hi guys, I’m Montana, the resident artist at Crockd. I am going to show you in four simple steps how to make your own clay booty mug like this. First be sure to like and subscribe and then we'll get started.
First, get your station ready by grabbing your pottery tools, a small bowl or cup of water for your fingers, and one bag of your clay. Feel free to work on a cutting board or directly on your surface.
To start your booty mug, rip off about half of your clay brick. Make sure to pop the other half back in your bag and seal it up. Get your clay warmed up by smacking it against the palms of your hands.
Then, start rolling your clay into a ball using your hands or your surface, smoothing out any big creases or cracks along the way. Once you have a nice smooth ball, identify the middle point. Then holding the clay in your non-dominant hand, push your thumb into the middle of the ball of clay without piercing through to the other side. With your thumb inside the ball of clay, use your four fingers to pinch down on the walls of the clay and your thumb to pull up on the clay from the inside. This is how we make a pinch pot.
Continue slowly pinching the walls of your clay and pulling up from the inside, without pulling the clay over the rim until you have an even pinch pot about a quarter of an inch or three fourths of a
centimetre thick. Once you're done pinching and pulling, give your pinch pot a tap against your surface for a flat bottom. Trim the rim of your pinch pot as needed by slowly dragging the circular shaped trimming tool along the rim. Then, you can smooth out cracks using your fingers and tools.
Feel free to pause here until you're all done with your pinch pot and then we'll move on to step two.
To start step two, grab another chunk of clay (about a third to a half of your remaining clay). Warm that clay up and then roll it into a ball. Then, cut that ball in half so you have two booty cheeks. You can cut and trim these pieces as needed if they're too big for your mug. Feel free to also smooth and shape these a bit before we attach them to our mug but know that we'll do most of the shaping after they're attached.
To attach the cheeks, we'll take our needle tool and score the areas of clay coming into contact with each other by drawing x's or hashtags all along those areas. Then create slip by dabbing the stored areas with water and one cheek at a time, attach by firmly pressing the chunk of clay into the mug, then blend each cheek into your mug using your spoon shaped tool. Once blended in you can continue shaping your buns by pushing and guiding the clay in the direction you want it to go with your fingers.
If your clay is feeling dry you can always dip your fingers in your water but be sure not to add water directly to your clay.
You can pause here until you're all done adding the booty to your pinch pot and then we'll move on to step three.
Start step three by rolling out another small ball of clay, then roll that ball of clay up and down in your hands or on your surface to make a chunky coil so we can make some thighs.
Cut your coil in half and trim until you have two chunks of clay that are the right size to fit onto your mug just from the base of the booty to the bottom of the mug. Attach the thighs one at a time by scoring with your needle tool. Create slip by dabbing the scored areas with water and then blend them into your mug using your spoon shape tool or your fingers. Continue shaping the thighs by blending and pushing the clay with your fingers and trim as needed with your circular trimming tool to make sure that they're level with the bottom of your mug.
You can continue adding as much clay as you want for extra curves, a belly, whatever you'd like. I'm going to add little chunks of clay to the sides of my mug to create more prominent hips. Remember to score and slip, then blend the extra clay into your mug starting with your spoon tool before pulling and pushing the clay with your fingers until your mud is as curvy, lumpy, or smooth as you want it to be.
Feel free to pause here until you're all ready to move on to the fourth and final step which is adding a handle.
Let's start this final step by first trimming away some clay from the areas in which our mugs are now super thick. Take your circular trimming tool and gently carve out some of the booty and hips from the inside of your mug.
Now taking the clay from your trimming or extra clay from your bag, create a handle by rolling a ball of clay up and down into an even coil either in your hands or on your surface. Trim the coil until it's the right length for your mug, then score each end of your coil and the points on your mug that you'd like to attach the handle to. Dab the scored areas with water and attach. Make sure you attach the handles so that when you hold your mug the booty is facing away from you.
Blend each point of your handle into your mug using your spoon shape tool, then for extra security add a little coil around each point of your handle like a ring. Starting in the middle of that coil blend the coil of clay both up into your mug and down into your handle using your spoon-shaped tool. Once your handle is completely blended in, do some final smoothing with your fingers and your booty mug is good to go.
Thank you guys so much for watching. Be sure to like and subscribe and let us know what you want to learn next.